Oscilloscopes for beginners

- Descrição
- Currículo
- FAQ
- Revisões
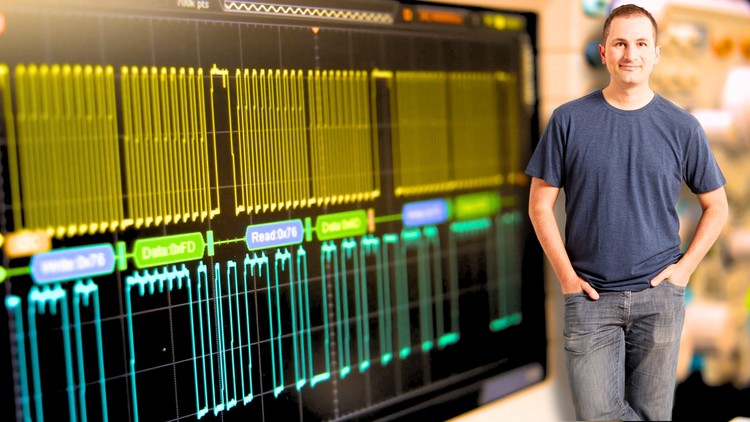
Oscilloscopes are incredible: They can capture, display, and analyse an electrical input signal. They can automatically produce all kinds of measurements, like the period, rise time, width, duty cycle, max and min voltages, and lots more, and even decode communications protocols like RS232, and I2C.
Are you working with electronics and are interested in using an oscilloscope to gain a better understanding of what is happening inside your circuits as they operate?
Perhaps you already have an oscilloscope but are confused by all its buttons, knobs and menu options?
Perhaps you are thinking of getting one but not sure if its worth it, or not sure what to look for?
This course is dedicated to the oscilloscope, and it will help you answer these questions, plus lots more.
It will teach you how to use the oscilloscope that you already have, or are planning to get.
After the multimeter, the oscilloscope is the most useful test instrument for makers.
Over the last few years, their prices have dropped by a lot, and it is now very common for students and hobbyists to be able to afford one. Today, budget scopes offer a full array of capabilities.
You are probably familiar with the multimeter. This test instrument gives you a snapshot of what is happening in your circuit in a specific moment in time. For example, it will tell you that the voltage on a certain pin is 5.1 Volts.
The multimeter works in a single dimension.
The oscilloscope works in two dimensions.
On its screen, it will plot the voltage of your test circuit over time. You can see how voltage changes over time, and get the measurements that describe various aspects of its operation. You can use this information to dive deep into the inner workings of your circuit.
This is a course for people who are already familiar with basic electronics.
To make the most from this course, you will need to have a working understanding of things like Volt, Hz and duty cycle.
Because I use the Arduino and the ESP32 to create experiments based on which I demonstrate various features and capabilities of the oscilloscope, you should also have a basic understanding of those two technologies.
In the course, first I’ll talk about the various aspects of an oscilloscope, such as the most important features, functions, and controls.
Second, I’ll help you get comfortable with your oscilloscope, calibrate it and get it ready for use.
And third, I’ll show you how to use the oscilloscope by guiding you through multiple experiments. Each experiment is an opportunity to learn and practice several new workflows and operations. This third part, the experimental, consists the bulk of the course.
So I invite you to enrol in this course right now, and learn how to use your oscilloscope.
You can also have a look at the free lectures for more information about the objectives and structure of this course.
-
12
 03.01 Introduction to section 3
 -
13
03.05 How to connect the probes
-
14
03.10 How to calibrate (compensate) the probes
-
15
03.15 How to calibrate the oscilloscope
-
16
03.40 What is input coupling?
-
17
03.50 Get started with automatic triggering
-
18
03.85 Cursor basics
-
19
03.90 How to manually label your channels
-
20
03.110 Quick demo of a USB oscilloscope
-
21
03.120 Zoolark quick demo (standalone)
-
22
 Beware: my Rigol probes have a 10:1 attenuation
-
23
04.10 Experiment 1: Introduction
-
24
04.20 Experiment 1: Setup the oscilloscope
-
25
04.30 Experiment 1: Setup the trigger
-
26
04.40 Experiment 1: How to use the automatic edge trigger
-
27
04.50 Experiment 1: Measure waveform attributes
-
28
04.60 Experiment 1: How to use the manual cursors
-
29
04.70 Experiment 1: How to use the automatic cursors
-
30
04.80 Experiment 1: How to use cursor tracking
-
31
04.90 RC circuit experiment with the USB oscilloscope
-
32
05.10 Experiment 2: Introduction
-
33
05.20 Experiment 2: Review the Arduino circuit and sketch
-
34
05.30 Experiment 2: How to connect the probes
-
35
05.40 Experiment 2: Setup the trigger
-
36
05.50 Experiment 2: Measure waveform attributes
-
37
05.70 Experiment 2: Repeat the experiment with a USB oscilloscope
-
51
09.10 Experiment 6: Introduction
-
52
09.20 Experiment 6: Review the Arduino circuit and sketch
-
53
09.30 Experiment 6: Setup the probe and trigger
-
54
09.40 Experiment 6: Sine waveform measurements
-
55
09.50 Experiment 6: Triangular waveform measurements
-
56
09.60 Experiment 6: Sawtooth waveform measurements
-
57
09.70 Experiment 6: Square waveform measurements
-
58
09.80 Experiment 6: Decaying waveform measurements
-
59
09.90 Experiment 6: Runt waveform measurements
-
60
09.110 Stephan's ESP32 Waveform Generator
-
61
09.120 Zoolark demo standalone mode
-
62
09.130 Zoolark demo PC mode