Revit for Plumbing Design and Fundamentals

- Descrição
- Currículo
- FAQ
- Revisões
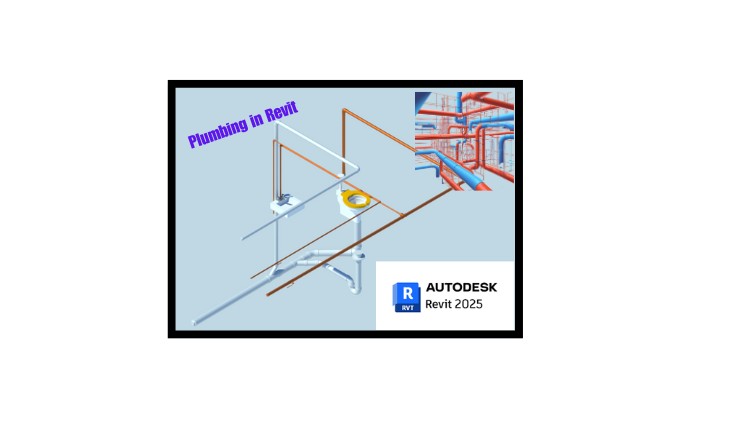
Learn how to setup an Autodesk Revit Plumbing Template with Pipe Types and creating the Piping Systems. Setting up Sanitary, Vent, Domestic Water and use this knowledge to setup the other Plumbing Systems. Setup the basic settings of Revit for your country. How to use and create filters to make plans like Domestic Water Plans, Sanitary and Vent plans. How to create Text Sizes and how they work and use different sizes and looks. How to create Pipe Tags for Pipe Sizes, system, Abbreviations. How to create Sheets and place views on a sheet including the sheet index. How to use Worksets and what to look for when wanting to show or hide something from the background. How to slope pipe, add a missing slope amount and create enlarged plans. How to use Revit families to Autosize your Domestic Water Piping system. How to create a Title block from scratch including the Sheet Title, Sheet Number, Drawn by, Checked by and Revision History. This course is geared to show a Plumbing Designer Professional how to create the Plumbing Template to create a Plumbing Project and the most used Fundamental Revit tools to create a Plumbing set. Even if you are a beginner at Revit this course is all you will need to get going to designing Plumbing in Revit.
-
1
 Visibility Graphics and the use of Tab
Copy and Monitor Levels from the background. The main tool Visibility Graphics and the use of the Tab key for Identifying Objects.
-
2
Create Pipe Types and Pipe Systems such as hot and cold water, sanitary and vent
This is the start and complete tutorial on how to start a new Plumbing Template that has all the resources you need to start a Plumbing Project in Revit. The following videos after this is the use of the template and how to draw a plumbing system, create a titleblock etc for a complete plumbing set.
-
3
Create new Project from the Template
Saving the template and creating a new project from it.
-
4
Drafting Plumbing Part 1
Draw plumbing piping based on size and elevation.
-
5
Drafting Plumbing Part 2
Drafting plumbing to a restroom using the Pipe Systems and Pipe Types created from Lecture 1. How to change the elevation of a pipe and what the view range means to the pipe we draw in a view.
-
6
Piping a Restroom and the use of the Connect Into Tool.
Demonstrating the use of Revit and piping up a restroom. How to manipulate a 3D view to view the piping arrangement.
-
7
Drafting and Plumbing Worksets
Use of Worksets
-
8
Setting a Background to a linked view so that it matches the Architectural
Setting a background to a linked View so that it matches what the Architectural background shows. Items like detail lines and text are view specific. Setting a view to a linked view will show all of these items.
-
9
Replace an existing background with a cleaned up background
The lecture is about cleaning up a background of unwanted items for use. Will show how to create an enlarged plan using callouts.
-
10
View Templates for floor plans.
How to create and use View Templates.
-
11
Clean up a background for Use.
How to clean up a background for use if it has objects in it that you either want to show or hide.